Main > Running Anbox on Raspberri Pi

Intro
Anbox provides a userland rootfs, glue logic and kernel modules to run android applications on GNU/Linux.
By default it supports x86_64 architectures. I wanted to run some android APKs on my Raspberry PI 4, which comes with an armv7l kernel.
After a bit of tinkering I got it “running”, though it was quite unstable.
Don’t expect to run your favorite games with this on the PI, not yet anyway.
Prerequisites
- A Raspberri Pi 4
- A fast internet connection
- A desktop/server to build
android.img - Loads of patience
Chapter 1: PI Kernel from source
This is needed to get to get the matching kernel headers / Modules.symvers, so we can build binder/ashmem
- Get the matching kernel using rpi-source
$ sudo wget https://raw.githubusercontent.com/notro/rpi-source/master/rpi-source -O /usr/bin/rpi-source && sudo chmod +x /usr/bin/rpi-source && /usr/bin/rpi-source -q --tag-update $ rpi-source - Extract the current kernel config with
cd ~/linux $ zcat /proc/config.gz > .config - Make the kernel with
$ make -j4 zImage modules dtbs - Install the new kernel with
$ sudo cp arch/arm/boot/zImage /boot/kernel7l.img $ sudo cp arch/arm/boot/dts/overlays/README /boot/overlays/ $ sudo cp arch/arm/boot/dts/overlays/*.dtb* /boot/overlays/ $ sudo cp arch/arm/boot/dts/*.dtb /boot/ - Reboot the PI and check that the new kernel is loaded
$ uname -a # Check the build timestamp in the output
Chapter 2: binder_linux && ashmem kernel modules
- Clone anbox-modules
- Add the following line on top of
binder/binder.c#define CONFIG_ANDROID_BINDER_IPC_32BIT - Follow the install instructions in anbox-modules
Chapter 3: Anbox from source
- Clone anbox
- Delete the following lines from
CMakeLists.txt.
# Reduce warnings (At the top of CMakeLists.txt)

set(C_AND_CXX_WARNINGS "-pedantic -Wall -Wextra")

# Some additional warnings not included by the general flags set above.
set(EXTRA_C_WARNINGS "-Wcast-align -Wcast-qual -Wformat -Wredundant-decls -Wswitch-default")
set(EXTRA_CXX_WARNINGS "-Wnon-virtual-dtor -Wold-style-cast")

# No -Werror (a bit further down)

if ("${cmake_build_type_lower}" STREQUAL "release" OR "${cmake_build_type_lower}" STREQUAL "relwithdebinfo")
  option(Werror "Treat warnings as errors" ON)
else()
  option(Werror "Treat warnings as errors" OFF)
endif()

if (${Werror})
    message(STATUS "Treat warnings as errors")
  set(CMAKE_C_FLAGS "${CMAKE_C_FLAGS} -Werror")
  set(CMAKE_CXX_FLAGS "${CMAKE_CXX_FLAGS} -Werror")
  if ("${cmake_build_type_lower}" STREQUAL "release" OR "${cmake_build_type_lower}" STREQUAL "relwithdebinfo")
    set(CMAKE_C_FLAGS "${CMAKE_C_FLAGS} -Wno-error=deprecated-declarations")
    set(CMAKE_CXX_FLAGS "${CMAKE_CXX_FLAGS} -Wno-error=deprecated-declarations")
  endif()
endif()

# This is needed because the compiler on the PI is newer/more strict than the typical desktop one
- Replace
uint64_twithuint32_tinsrc/anbox/input/device.cpp,struct CompatEvent.
@@ -55,8 +55,8 @@ void Device::send_events(const std::vector<Event> &events) {
     // NOTE: A bit dirty but as we're running currently a 64 bit container
     // struct input_event has a different size. We rebuild the struct here
     // to reach the correct size.
-    std::uint64_t sec;
-    std::uint64_t usec;
+    std::uint32_t sec;
+    std::uint32_t usec;
     std::uint16_t type;
     std::uint16_t code;
     std::uint32_t value;

# This is needed to support 32bit android userland
- Follow the anbox build instructions to build and
sudo make install
Chapter 4: Anbox/android.img for armv7
This downloads ~ 40GB of sources and uses ~ 100GB of disk space. You need a powerful desktop for this step. It will take hours.
- Open a terminal and type
$ export LC_ALL=C - Follow instructions in anbox/build-android
- Extract
android.imgwithunsquashfs android.img - Modify the heap size from
dalvik.vm.heapsize=512mtodalvik.vm.heapsize=128m$ nano squashfs-root/system/build.prop # use ctrl-w to search for heapsize - Repack
android.imgwith$ rm android.img $ mksquashfs ./squashfs-root android.img
Chapter 5: Run anbox
- Create
/var/lib/anbox - Copy
android.imgto/var/lib/anbox - Run anbox
container-manager$ sudo ANBOX_LOG_LEVEL=debug anbox container-manager --daemon --privileged --data-path=/var/lib/anbox - Run anbox
session-manager$ anbox session-manager --single-window --window-size=1024,768 - Watch the logs in
/var/lib/anbox/logs$ sudo tail -f /var/lib/anbox/logs/console.log
Chapter 6: Enjoy the crashes
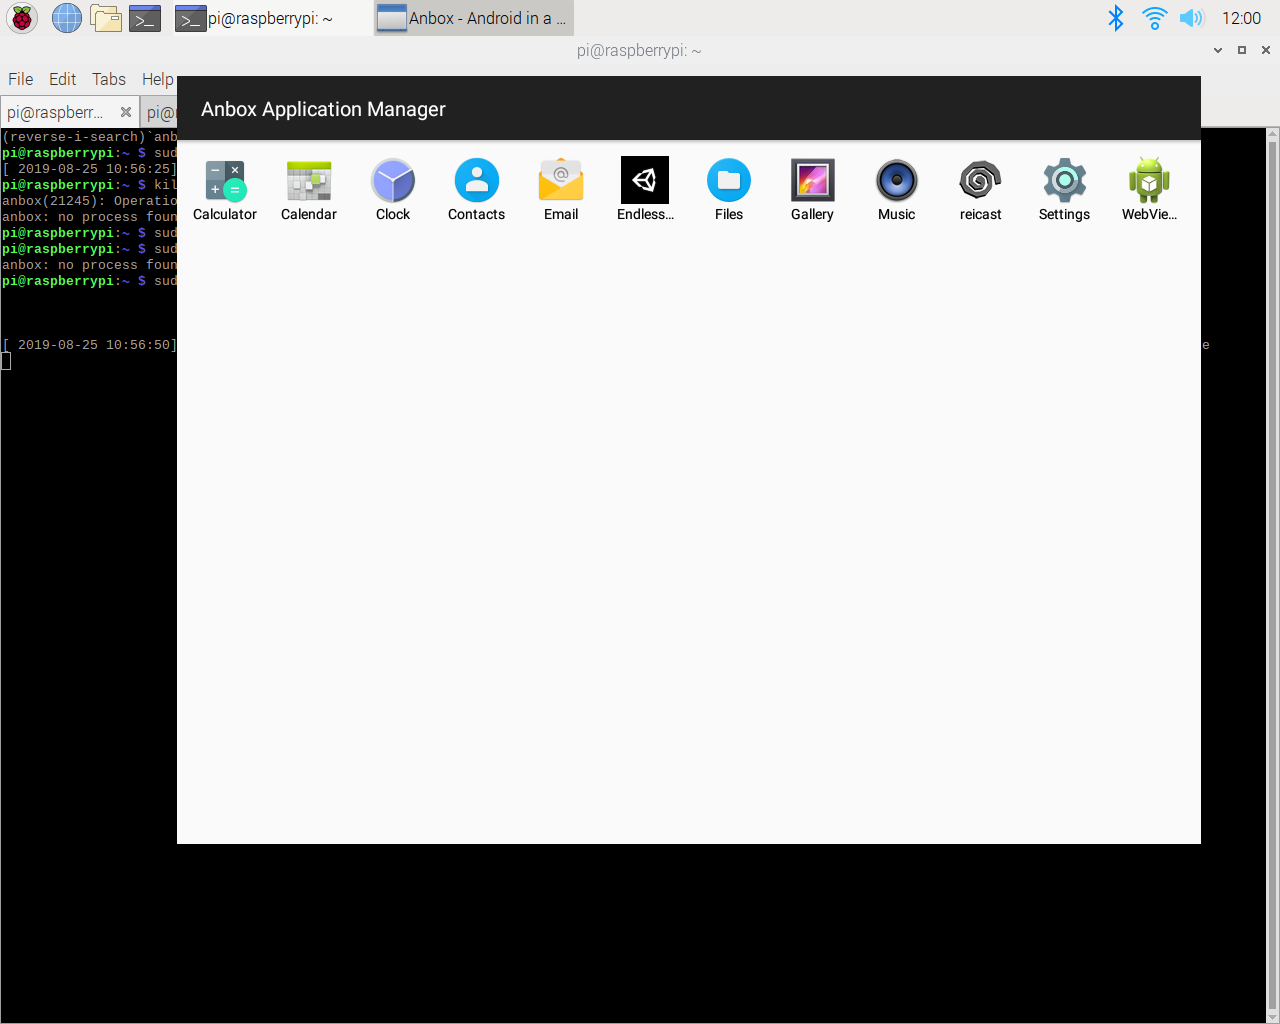
You should now have anbox running on your pi!
You can connect to it via and and install APKs you want to test
$ sudo install adb
$ wget http://my-apk....
$ adb install my-apk....